How to Import Banking Transactions
1. How to import banking or financial institution data into xl Ledger transactions.
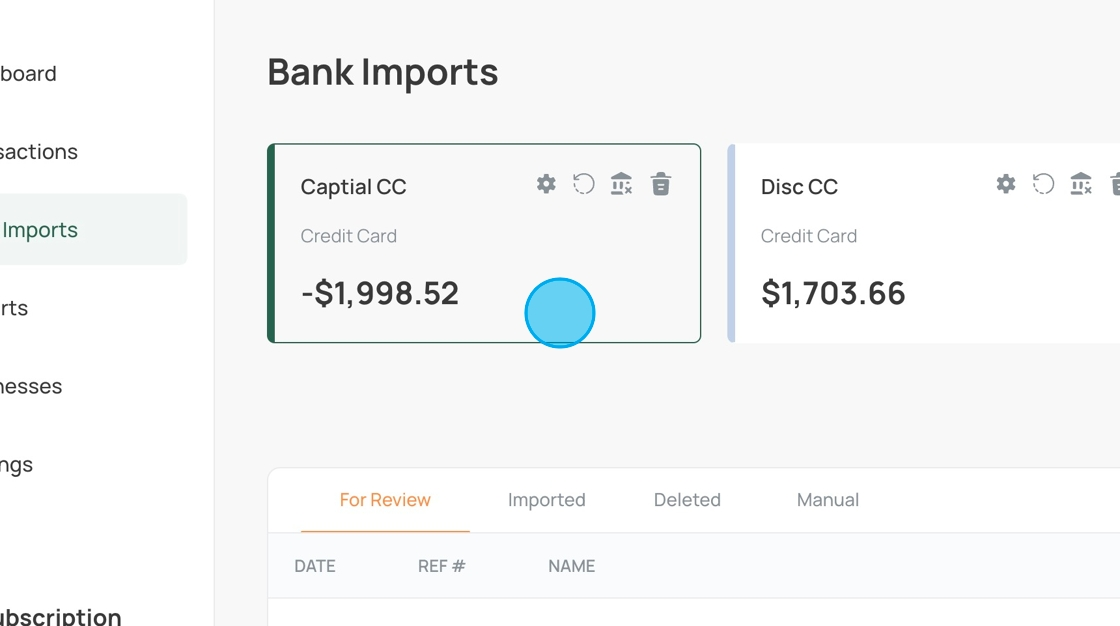
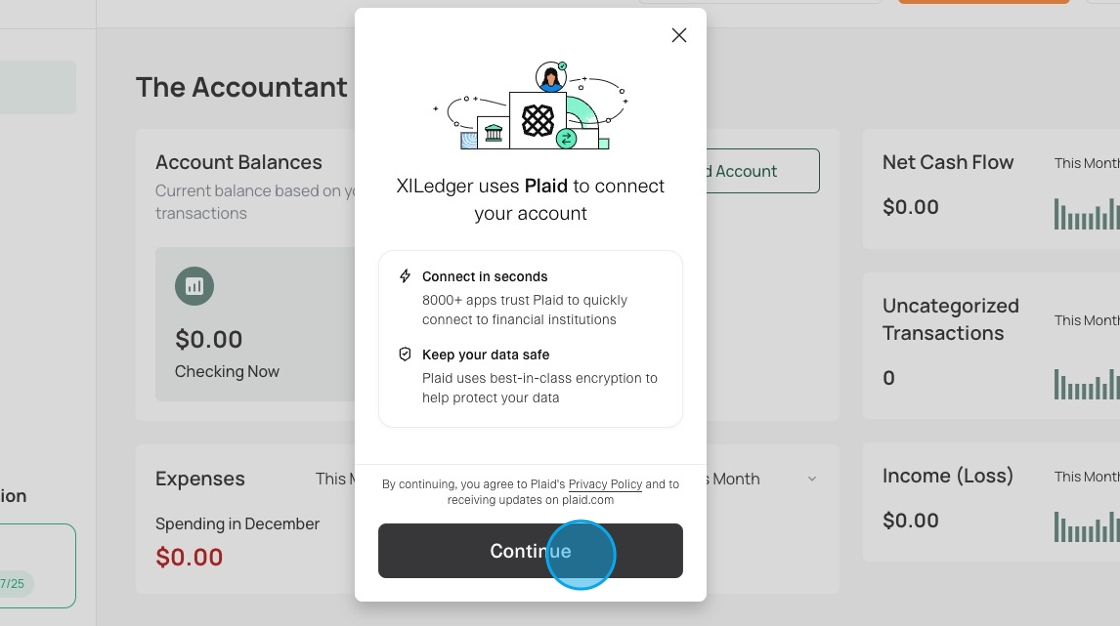
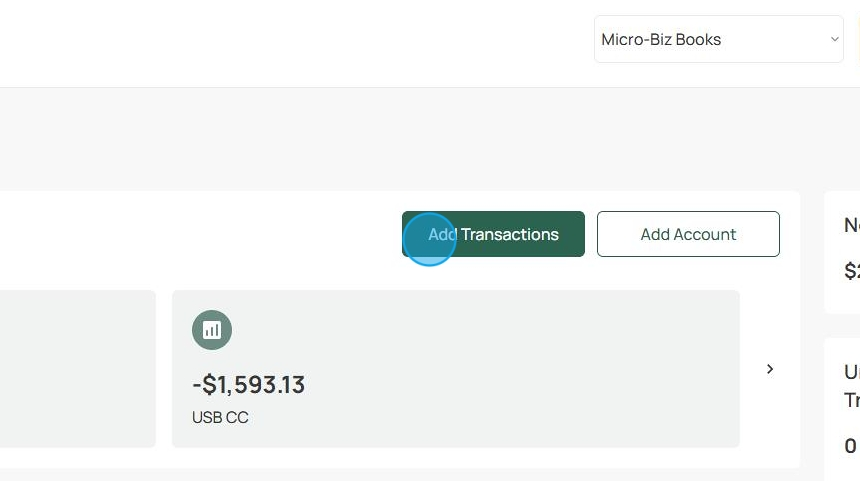
2. We import your financial transactions using Plaid. For step-by-step instructions, please see How to Connect to Your Financial Institution. Then, click "Bank Imports" to view transactions from your financial institution.

3. Click on an account card to view the transactions for the selected account.

4. The "For Review" tab will display the transactions imported from your financial institution.

5. To check for new transactions, click the circular icon. The new transactions will be imported into the XL Ledger in a few moments.

6. You will see a green "Importing Transactions" import notice at the top right to confirm the process has begun.

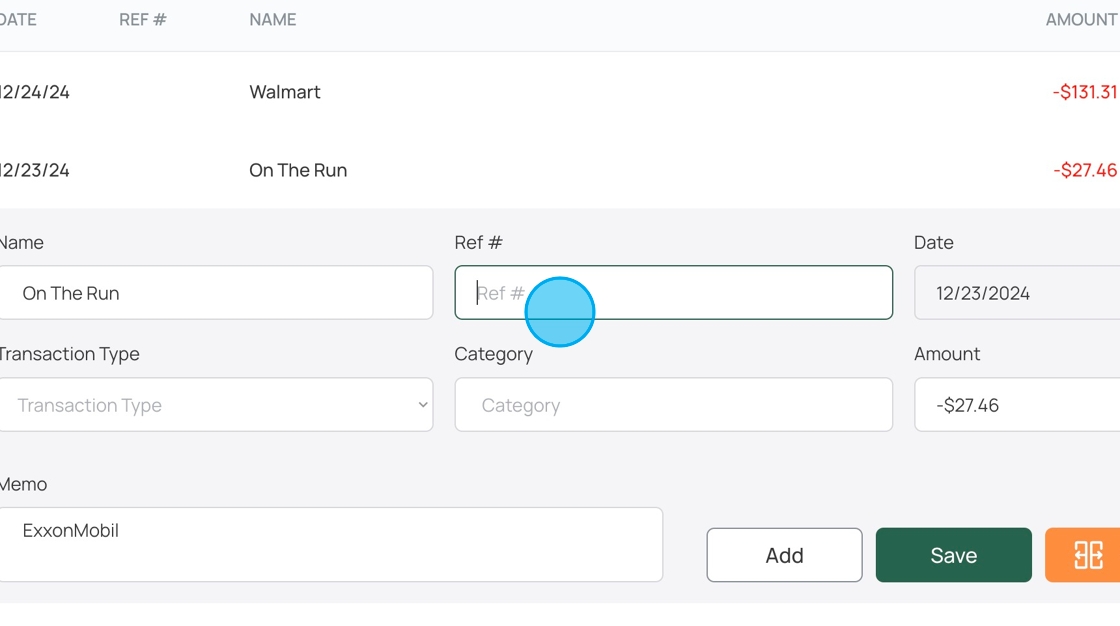
7. Click the "Review" button to view the information imported for that transaction.

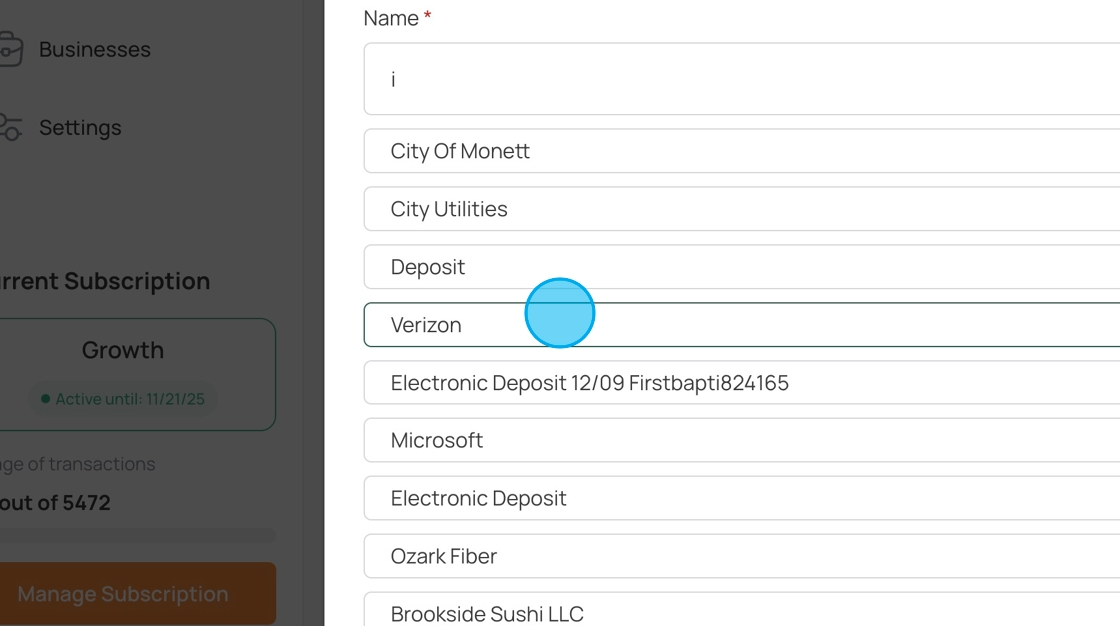
8. The imported Name will be shown. Please note that due to the limitations of our third-party connector, it may contain extra information. For example, it might present a description of "Electronic Deposit 20241211 ##########". We recommend users delete the unnecessary text, leaving "Electronic Deposit" in our example.

9. Any check number or reference number from the institution will be imported in the "Ref #"
10. If the system has detected a new Name, you must select a Transaction Type. To see how we handle existing names, see our How To Previous Name Automatic Categorization.
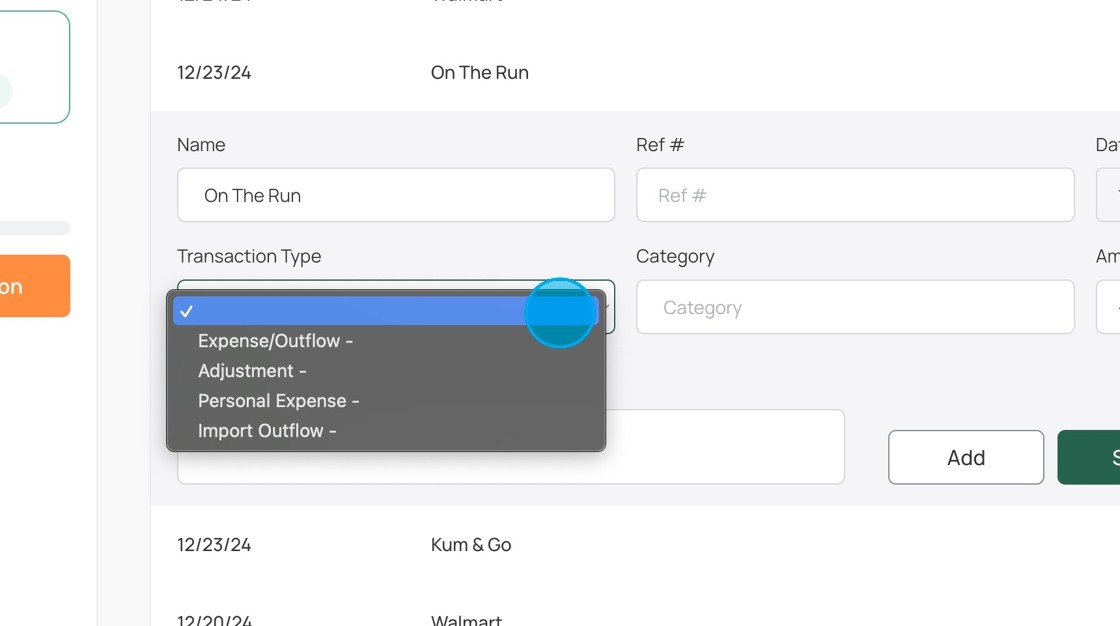
11. After selecting the Transaction Type, click the Category and the search box and dropdown list will appear.

12. Type a phrase to search categories or scroll through the list of categories.
Note the transaction amount will be imported directly from the financial institution.

13. To complete the import, click the "Add" button.

14. When a transaction contains a previously entered Name, xlLedger will automatically fill the previously entered Transaction Type and Category.

15. You will note that focusing on the Name field displays a list of names that match the entered phrase. Clicking on a name will prefill the previous categorization for the selected name.

16. You may delete the prefilled category and search or scroll for a different category.

17. Once again, clicking the "Add" button will import the transaction.

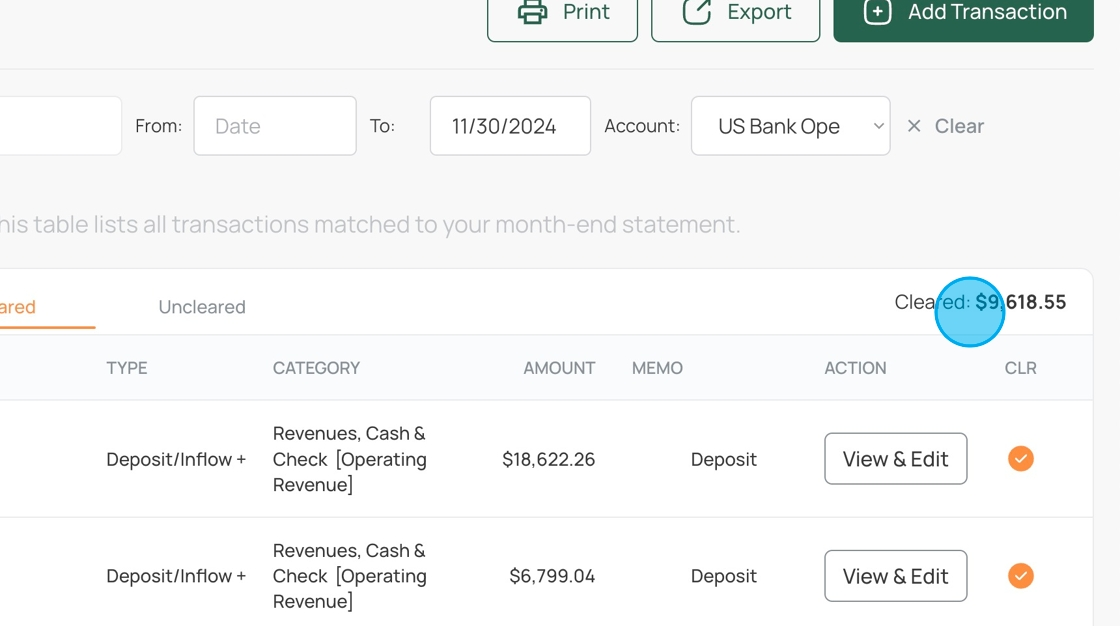
18. To view the imported transactions, click on the "Transactions" menu item.

19. You may then filter the "Transactions" for a selected "Account".

20. Here you will see the transaction we imported above.

21. For more information, please visit the How To section on our website. www.xlledger.com
The body content of your post goes here. To edit this text, click on it and delete this default text and start typing your own or paste your own from a different source.